.png)
6–8 Shades Is Typical: Clinician Teeth Whitening Shade Guide

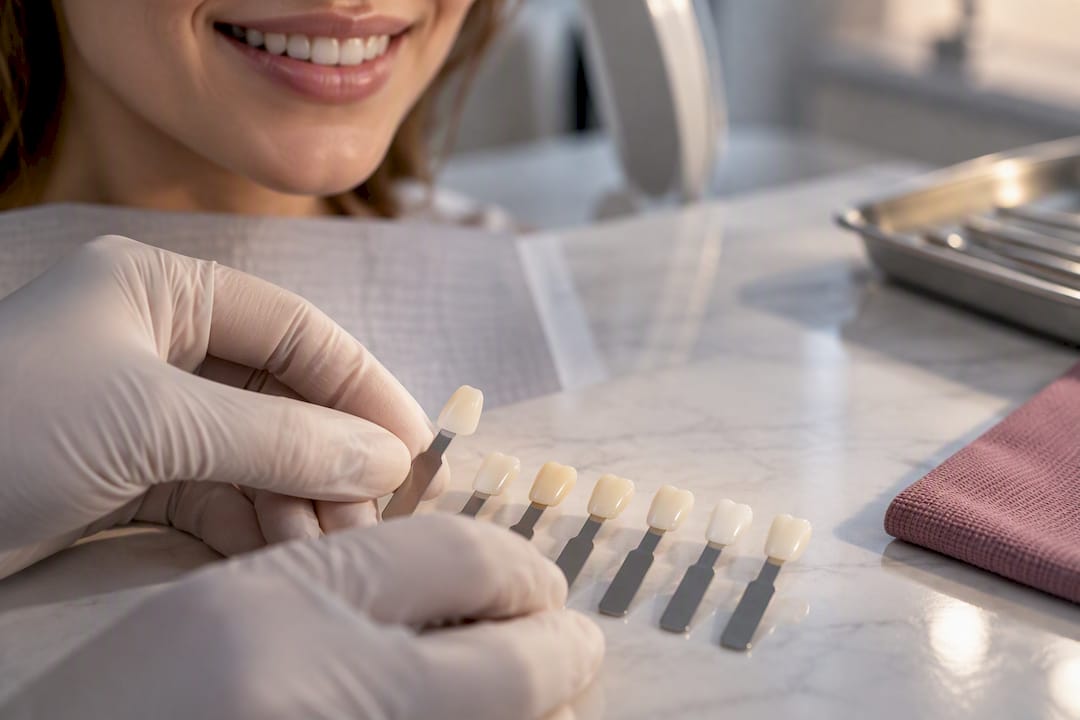
A teeth whitening shade guide is a clinical color scale that dentists and cosmetic clinicians used to measure and record tooth color before, during, and after treatment. Professional in-office whitening commonly lifts teeth several shades in a single visit, while at-home systems tend to deliver smaller, gradual gains over several weeks. If you’re planning a whitening treatment, a clinician can help you set a target shade that matches your skin tone and goals, rather than chasing a number that looks good on a chart but wrong on your face.
TL;DR:
A shade guide provides a standardized way for clinicians to measure and compare tooth color accurately under natural lighting, ensuring consistent treatment planning.
The natural shade range in the VITA Classical system runs from A1 to D4, with bleach shades (BL) used for teeth that surpass natural whiteness, requiring precise tracking for effective results.
In-office whitening can achieve six to eight shade improvements in a single session, but results depend on factors like existing restorations, intrinsic stains, and age-related changes.
Selecting a target shade should consider skin tone and existing dental work, as the brightest shade on the chart may not produce the most natural or flattering look.
Reliable shade matching involves proper lighting, consistent photography, and a staged approach, with regular tracking to avoid uneven results and manage sensitivity.
Table of Contents
What Is a Teeth Whitening Shade Guide?
A shade guide is a set of physical tabs, each representing a specific tooth color, that a clinician holds against your teeth to identify your current shade and track change over time. Dentists rely on them for two very different jobs: planning whitening treatments and matching porcelain crowns or veneers to your natural teeth.
The guide matters because color under artificial light, on a phone screen, or in a dim bathroom mirror is unreliable. Physical tabs under controlled daylight remove that guesswork.
Gives clinicians a shared, standardized language for describing tooth color
Helps set a realistic starting point and endpoint before treatment begins
Supports restorative work by matching crowns, veneers, and bonding to surrounding teeth
Creates a repeatable record so before-and-after comparisons are actually accurate
The Shade Systems You’ll Encounter
Most consumer and clinical shade discussions trace back to the VITA Classical system, which sorts natural tooth color into four hue families labeled A through D. Within each letter, a number indicates brightness, so A1 is lighter than A4, and B1 is lighter than B4.
Beyond the natural range sits a separate category: BL, or bleach, shades. These exist because whitened or porcelain teeth can look brighter than anything in the standard A to D range, and clinicians needed a way to record that.
VITA Classical (A–D): covers natural, unwhitened tooth color across four hue families
BL/bleach shades: used for veneers, porcelain crowns, and heavily whitened teeth that exceed the natural scale
VITA Toothguide 3D‑MASTER: an expanded system that organizes shades by brightness first, then hue and saturation, giving a finer breakdown than the classical chart
VITA Bleachedguide: built specifically to monitor bleaching progress, with 29 defined brightness levels that extend well past the classical range
If your clinician mentions the Bleachedguide during a consultation, it usually means they’re tracking your whitening progress with more precision than a standard A to D comparison allows.
A1 vs B1: What the Letters and Numbers Actually Mean
The hue family is the first clue. A shades sit in the reddish-brown range, B shades lean reddish-yellow, C shades read grey, and D shades combine reddish and grey undertones. Once you know the family, the number tells you how light or dark that particular shade sits within it.
B1 is typically considered among the brightest shades on the natural VITA Classical scale, which is why it gets referenced constantly in whitening and veneer conversations. A1, by contrast, is a warm, slightly softer natural shade that many people find looks more lifelike against their skin tone and eye color.
A1: warm, natural, slightly muted brightness
B1: the brightest shade in the natural (non-bleach) range
BL shades: reserved for bleached or porcelain results, and can sit noticeably brighter than B1
The distinction between A1 and B1 isn’t a simple whiter-versus-duller ranking. It’s a hue-family choice, and picking the right direction matters more than picking the highest number on the chart.
How Many Shades Can Whitening Actually Change?
Realistic numbers matter here, because marketing photos rarely reflect the average outcome. Clinical case summaries commonly report in-office whitening producing shade improvements in the range of six to eight shades in a single session, while take-home trays usually produce smaller, slower gains spread across several weeks.
Several factors limit how far any given smile can move:
Intrinsic stains from tetracycline or fluorosis respond less predictably than surface staining
Existing crowns, veneers, or fillings won’t whiten and can end up visibly lighter than the shade change everywhere else
Naturally darker dentin underneath the enamel sets a ceiling on how bright teeth can realistically get
Age tends to correlate with more resistant staining, simply from decades of exposure to coffee, tea, or tobacco
If you’re whitening for an event like a wedding, book the consultation well ahead to allow sufficient time for the process. That gives time for a touch-up round if the first result needs refining, and it avoids the sensitivity spike that comes from rushing an aggressive treatment right before the big day.
Choosing a Target Shade That Actually Suits You
Picking B1 because it’s the brightest option on the chart is a common mistake. Skin tone, lip color, and even the translucency of your enamel all change how a given shade reads in person. Someone with warmer undertones often looks more natural landing in the A1 to A2 range even after aggressive whitening, while cooler undertones tend to carry brighter B or BL shades without looking artificial.
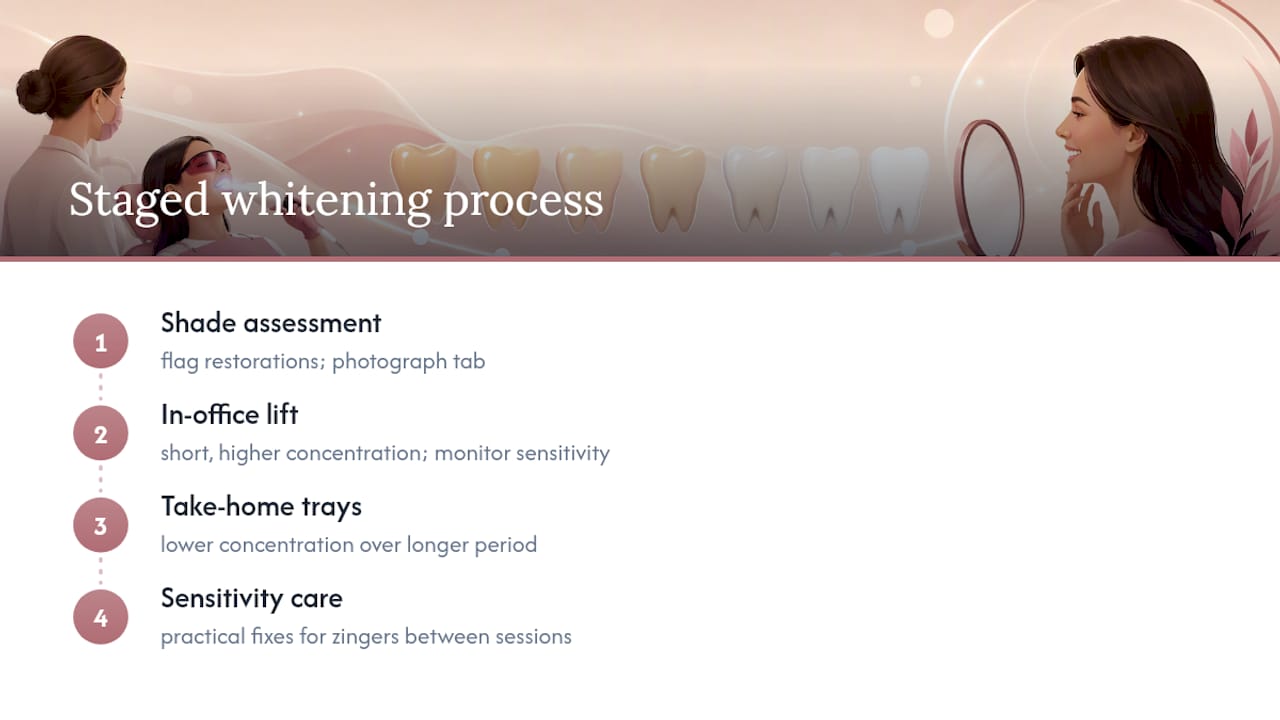
Existing restorations complicate the decision further. Crowns and veneers don’t respond to whitening gel, so if you whiten past their shade, you end up with a mismatched smile. Clinicians typically flag this during the shade assessment, before any gel touches your teeth.
A staged approach, an in-office lift followed by take-home maintenance trays, tends to produce a more even, controlled result than a single aggressive session. It also gives more room to manage sensitivity, since the take-home phase uses a lower concentration over a longer stretch rather than one intense dose.
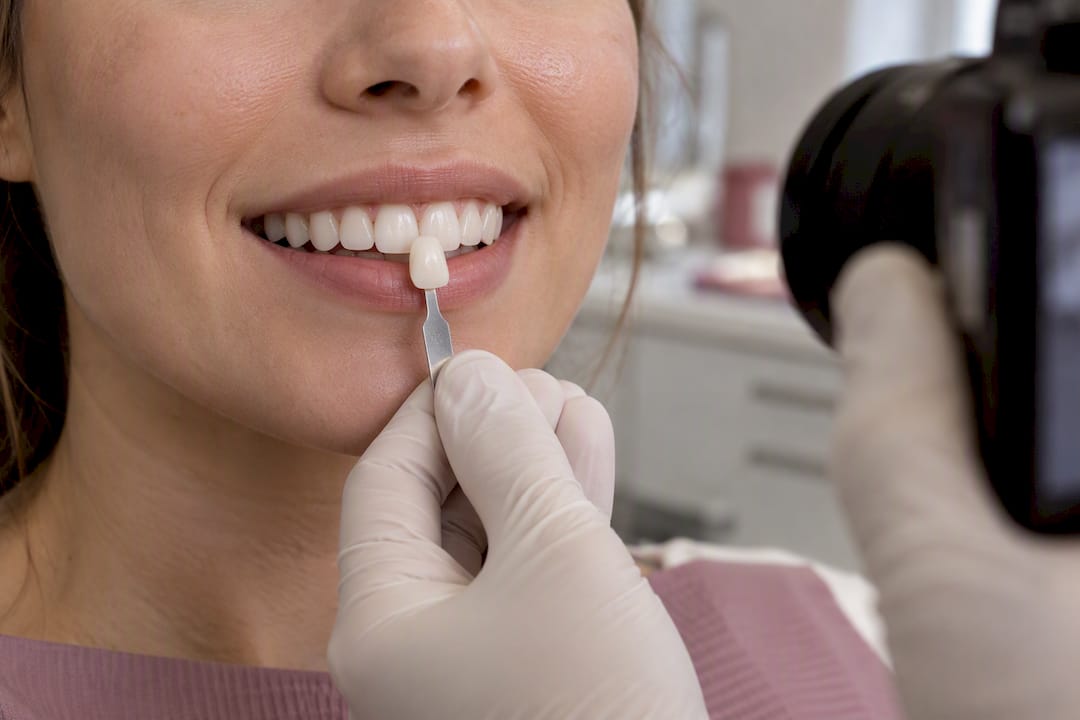
Pro Tip: Ask your clinician to photograph your shade tab next to your teeth under the same lighting at each visit. Comparing tab-to-tooth photos side by side is far more reliable than trying to remember what your teeth looked like three weeks ago.
For anyone dealing with zingers between whitening sessions, a few practical fixes for sensitivity can make the staged approach much more comfortable.
How to Use a Shade Guide for an Accurate Match
Getting a reliable reading takes more than holding a tab near your mouth for a second. Follow these steps in order:
Remove lipstick or lip balm, and take the reading in natural daylight or under color-corrected clinical lighting.
Rest your eyes for a few seconds between comparisons. Staring at one tab too long skews how the next one looks.
Hold the tab perpendicular to your teeth, focusing on the middle third of the tooth rather than the edges, which are often more translucent.
Hold that position for about five seconds before deciding, and slide the tab across a few different teeth to check consistency.
Photograph the tab against your teeth using the same camera, same white balance setting, and same background every time.
Log the shade and date so you have a written record to compare against future visits.
Step | What to watch for |
Lighting | Use daylight or a color-corrected lamp, never a phone flash or yellow indoor bulb |
Positioning | Compare the middle third of the tooth, not the edge |
Timing | Hold the tab in place for five seconds before judging |
Photo consistency | Same camera settings, background, and reference tab every session |
This is also where before-and-after photo literacy pays off. Consumer summaries consistently warn that screen previews and phone photos are unreliable for judging real shade, so treat any photo comparison as a rough guide, not a final verdict.
Tracking Results and Knowing When to Get a Consult
A simple shade log, paired with photos taken under the same lighting each time, is enough to catch gradual change most people would otherwise miss. Compare against your baseline tab reading every couple of weeks during active treatment.
Uneven whitening across different teeth often signals a fit issue with trays or gel distribution
A visible mismatch between natural teeth and any crowns or veneers means it’s time to see a clinician
Sensitivity that lasts more than a day or two after a session is worth flagging rather than pushing through
Plan on periodic touch-ups. Staining habits, not the initial treatment, usually determine how long results hold, and a maintenance schedule keeps results from sliding back gradually.
A Clinician’s View on Realistic Smile Goals
Chasing the brightest shade on the chart is rarely the right goal. What matters more is a shade that fits your features and holds up honestly next to any existing dental work you already have. Where restorations, sensitivity, or uneven staining are part of the picture, a professional consult beats guesswork every time. A staged plan, done thoughtfully, almost always produces a result that looks intentional rather than obviously bleached.
— chevonne
Get a Shade Assessment Instead of Guessing at a Tab
Reading a shade guide correctly takes practice, and matching your own teeth in a bathroom mirror will only get you so far. Professional teeth whitening services typically start with a proper shade assessment against a physical guide, followed by a staged plan including an in-office lift and take-home maintenance to achieve even and lasting results.
The Signature Treatment runs $249, and the Platinum Treatment is $199, each including a clinician-led assessment and before-and-after photos so you can actually see the change rather than guess at it. If you’re planning around an event or just tired of inconsistent drugstore results, book a teeth whitening consultation and get a shade plan built around your face, not a chart.
Sources
FAQ
Which Tooth Shade Is Whiter, A1 or B1?
B1 is typically the brightest shade in the natural VITA Classical range, while A1 sits slightly warmer and more muted. The difference is a hue-family choice as much as a brightness one, so the “better” option depends on your skin tone and features, not just the number.
Which Tooth Shade Is Darker, A2 or A3?
A3 is darker than A2 on the VITA Classical scale, since numbers increase as brightness decreases within each letter family. Both sit within the natural A range, which reads reddish-brown rather than the greyer C or D families.
Is BL2 Tooth Shade Too White?
BL2 sits within the bleach shade range, which is brighter than anything in the natural A through D scale, so it can look artificial on some skin tones and undertones. A clinician can compare BL2 against your features during a shade consultation before you commit to it as a target.
Is 6% or 16% Teeth Whitening Stronger?
Higher percentage concentrations generally produce faster, more noticeable shade change per session, though they also carry a higher risk of sensitivity if used without supervision. A staged approach, an in-office treatment followed by a lower-percentage take-home system, is how many clinics balance speed against comfort.
Recommended
Comments